The Shorter Long Table
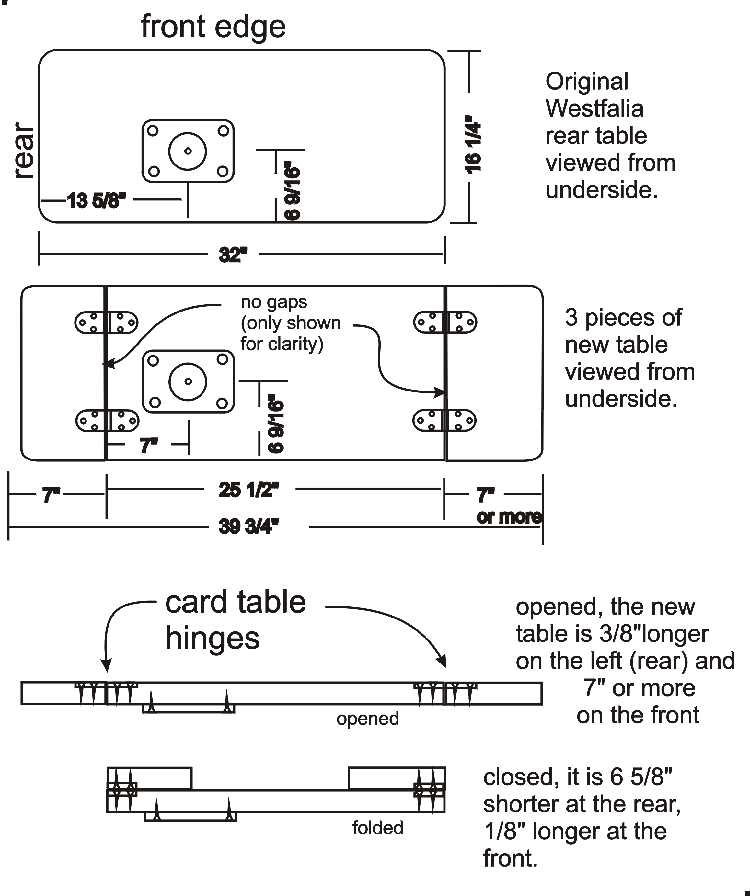
Drawing of the Planned Modification.
The second drawing shows the 3-piece table with a centre section 25 1/2" by 16 1/4", without T-molding.
The left hand leaf can be a maximum of 7" long to allow the table to swing properly against the stove cabinet. The leaf can be left unfolded when the table is stowed, or folded up to allow the wardrobe door to open.
The right hand leaf can be up to 10" long. It must be folded over during stowage, but when unfolded extends the length of the table.
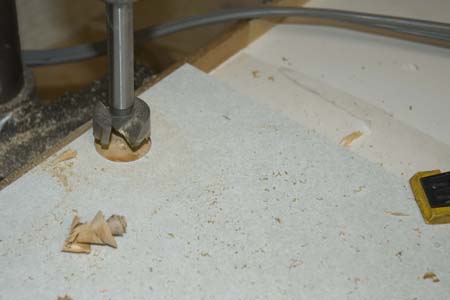
Drilling for the Hinge
Card table hinges are used because they are flush with the table surface when opened, but allow the leaf to lay flat on top of the main section when folded over. As well they have built-in stops to prevent the leaf from sagging, unless excessive weight is placed on it.
A 30mm diameter Forstner bit drills the rounded portion of the hinge recess. A stop on the drill press is set to drill to the correct depth.
A stop on the drill table centres the drill 20mm from the end of the table.
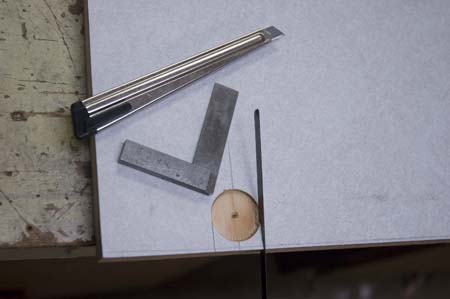
Cutting the Slot
Then, with a small, very fine saw blade the Formica TM is cut out.
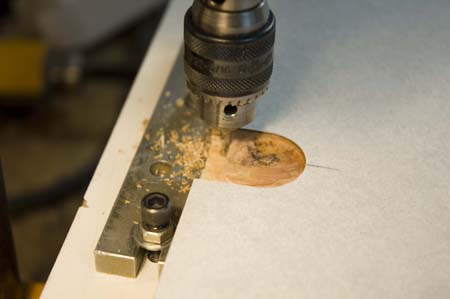
Milling the Recess
A stop on the drill press and on the drill table controls this measurement.
The final fit is made with a file.

Ready for Assembly
The lower hinge will fit into the recess. The upper hinge shows how it looks when folded 180 degrees.
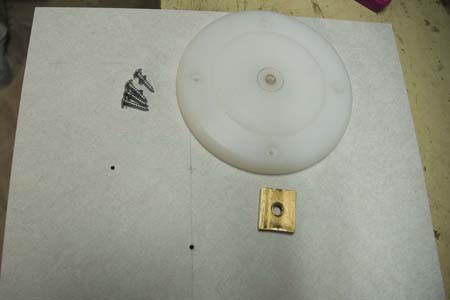
Base Ready for Assembly
Rather than take the steel base plate off the original table, a new base plate was made from 3/4" nylon (another free scrap). The brass threaded piece is countersunk into the top of the nylon circle.
The faint pencil mark "+" shows the centre of the base plate, measurements taken from the original table.
1" screws hold the base plate to the table, the bottom of which is covered with Formica TM just for looks.
Not shown is a 4" diameter circle of 1/32" stainless steel which prevents the table arm from biting into the soft nylon.
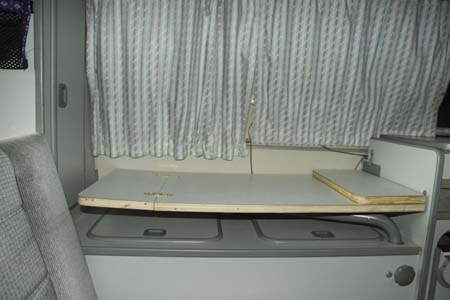
Mounted Table
The table looks bowed in these photos. When normal weight is placed on the leaves, they do flatten down.

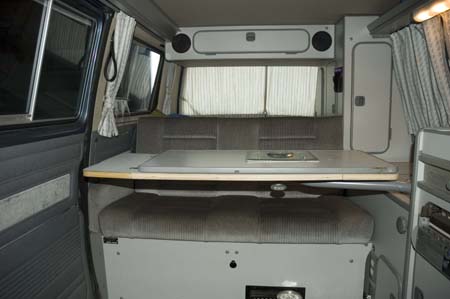
Mounted Table - leaf up
The edges of the table and leaves have not yet been finished with T-molding.
Extra Length
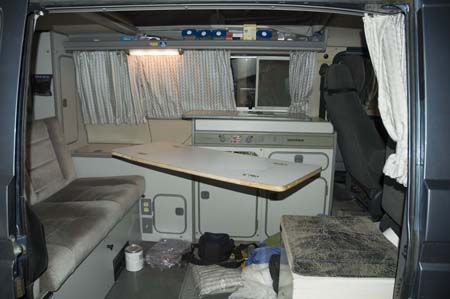
Different Seating
The padded box position is for the cook's assistant!