Passenger Seat
Because it was the easier, I started here.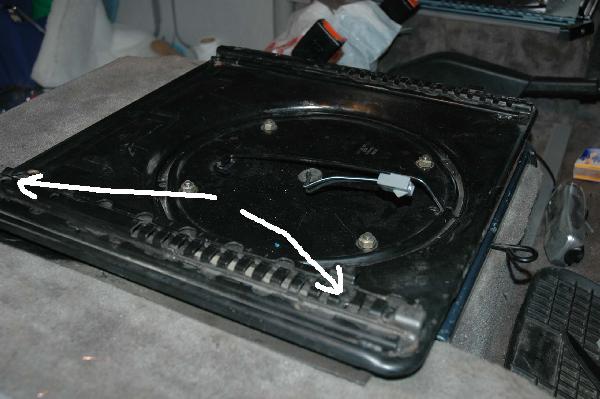
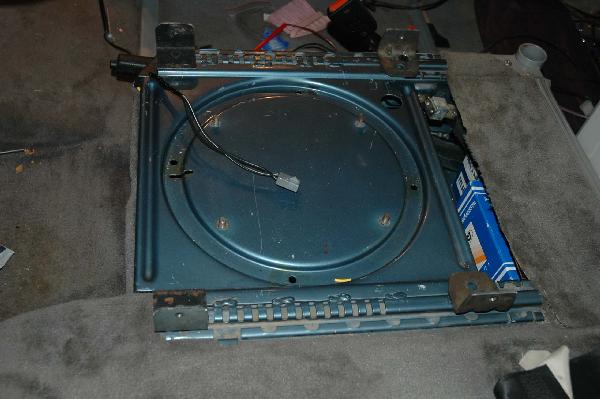
The original VW swivel, with new wiring.
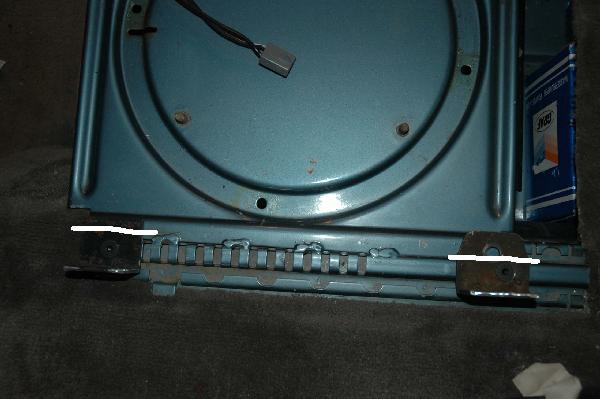
The arrows point to 8mm (5/16") holes drilled through the raised slide locking channels and base of the swivel plate. The other channel was drilled identically. The new seat has studs welded to its rails, which luckily line up perfectly with the width of the VW channels.
When the new seat is fitted, the swivel can be turned and nuts attached to each stud from underneath.
A 1" hole was drilled through the centre of the round swivel clamping plate, and a 1/2" hole through the original VW slide locking plate immediately below. The larger hole allows the plug to be pulled through the swivel clamping plate for its removal. Rubber grommets were fitted to each hole. Wiring runs under the carpet from the driver's seat pedestal.
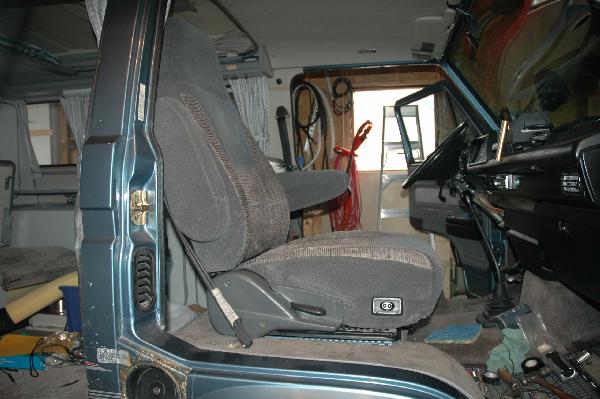
The finished passenger seat.
It slides fore and aft by releasing a lever under the front (unlike the original VW seat), tilts by releasing the lever on the right side (similar to the original), and still rotates 360 degrees. To remove the seat requires undoing 4 nuts under the swivel plate and lifting the seat out, though it still slides far enough forward to access the battery box and swivels to allow battery removal.
The arm rests fold up and down, but unfortunately do not have the infinite adjustment the VW seats had.
The seat base was moved 1 inch forward on the base rails, giving more thigh support. Note that the seat sits more level than the original VW seat.
The lower part of the plastic trim and steel behind it had to be trimmed off to allow the seat to slide fore and aft without scuffing the carpet.
The switch pumps up or releases air from the lumbar support bladder.
Driver's Seat
This one turned out more difficult than expected.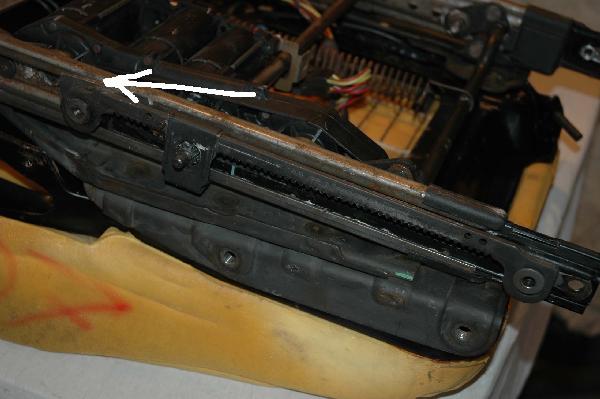
The seatbase turned upside down.
The arrow points to where the original front mount was cut off. The rear mounts were removed completely by drilling out the rivets. The rear rivets were then drilled 8mm allowing an allen-head screw to pass through and into a nut inside the seat rail.
The front left mount ready to be bolted to the floor.
Unlike the passenger seat, the mounting bolt for this bracket does not go completely through the slide locking channel, otherwise it would end up in the wheel-well. I didn't want any extra holes in the floor.
There are 4 pieces of 11mm X 12mm square steel 50mm long which slide inside the slide locking channels. Each is drilled and tapped for a 5/16" countersunk allen-head screw. (I couldn't find 8mm countersunk screws!) The countersinking was an effort to lower the seat base to the utmost because of lack of headroom for a 6'2" driver.
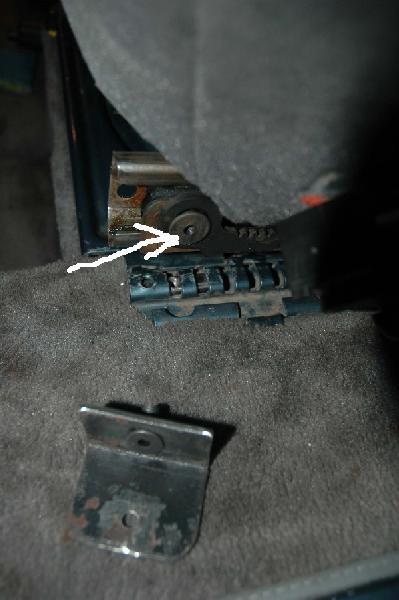
The arrow points to the hole drilled and threaded into the original seat front mount rivet for a 6mm allen-head screw.
Left brackets bolted to the floor.
The white lines indicate where more had to be cut off the inner edges of the brackets to clear the up/down mechanism while the seat is moved fore/aft.
The right side brackets are mirror images of these.
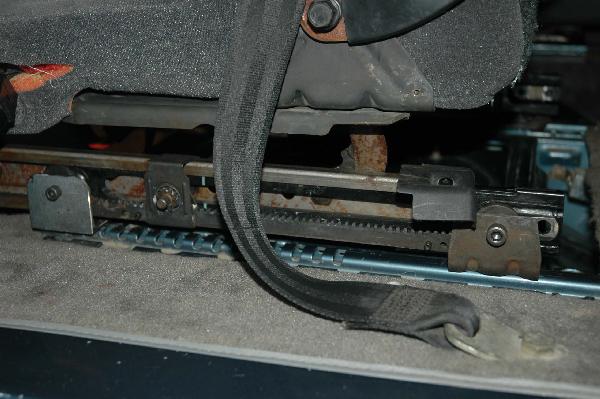
Wiring for seat power.
Power comes from the fuse panel under the dash, routed under the carpet alongside the tunnel to the seat pedestal. It comes up the front of the pedestal, under the plastic trim cap and into the pedestal. It is taped for protection, and was also clamped to one of the original VW swivel bolts to prevent chafing.
Ground for both seats was provided by the screw that holds the auxilliary battery relay, visible behind the driver's seat.
Seat mounted to brackets.
The front bracket is fabricated of angle iron. The rear bracket is the original rear bracket cut down and redrilled.
The seat base has been raised (by the up/down motor) almost to its maximum height, and moved (by the fore/aft motor) almost maximum forward.

Finished driver's seat
The front group of switches control front tilt; fore/aft and up/down; rear tilt. The right hand switch activates the lumbar support air pump.
The lower part of the plastic trim had to be extensively trimmed to clear the carpet when the seat is fully lowered.
The seat no longer swivels, but the arm rests fold up and down, although without infinite position control as the original VW seats had. The back adjusts by releasing a lever on the right side, the same as the passenger seat.
To remove the seat requires removing left trim (4 screws), and removing 4 allen-head screws. Not quite as easy as the original VW seat. But it does move far enough forward to allow good access to the auxilliary battery compartment.
The major difficulty was to provide enough headroom for the driver - mainly me. Because the Westfalia has a hard headliner, lower than the soft liner found in a Vanagon, headroom was critical for a tall driver. A driver under 6 feet tall wouldn't have a problem.
We have made a short test run and find the new seats comfortable, however there are things to get used to. The arm rests are different, reaching the gearshift lever is further, and seeing the instruments is worse. Driver's headroom is also very tight. Whether it will be worth the effort for someone else to do will depend on many factors - such as driver proportions (ie leg length, height, weight, arm length, etc) and personal preferences. Finding seats with thinner, but equally comfortable foam would be a better choice.
Nothing that I have done cannot be undone and returned to normal in a few minutes.
Now that the driver's seat is higher than the original VW seat, the steering wheel seems too low. It was too low before this modification, to the point where the steering wheel blocked my view of the top half of the speedo and tach. So now the next mod needed is a higher, tilt steering wheel!